Categories
WordPress Accepting Online Payments PayPal

How To Integrate PayPal Into Your Website Using Payment Page WordPress Plugin

Wouldn’t it be great if your customers could make payments right on your website? It saves customers time and improves their overall experience.

To do that, you need to integrate an online payment gateway into your website.

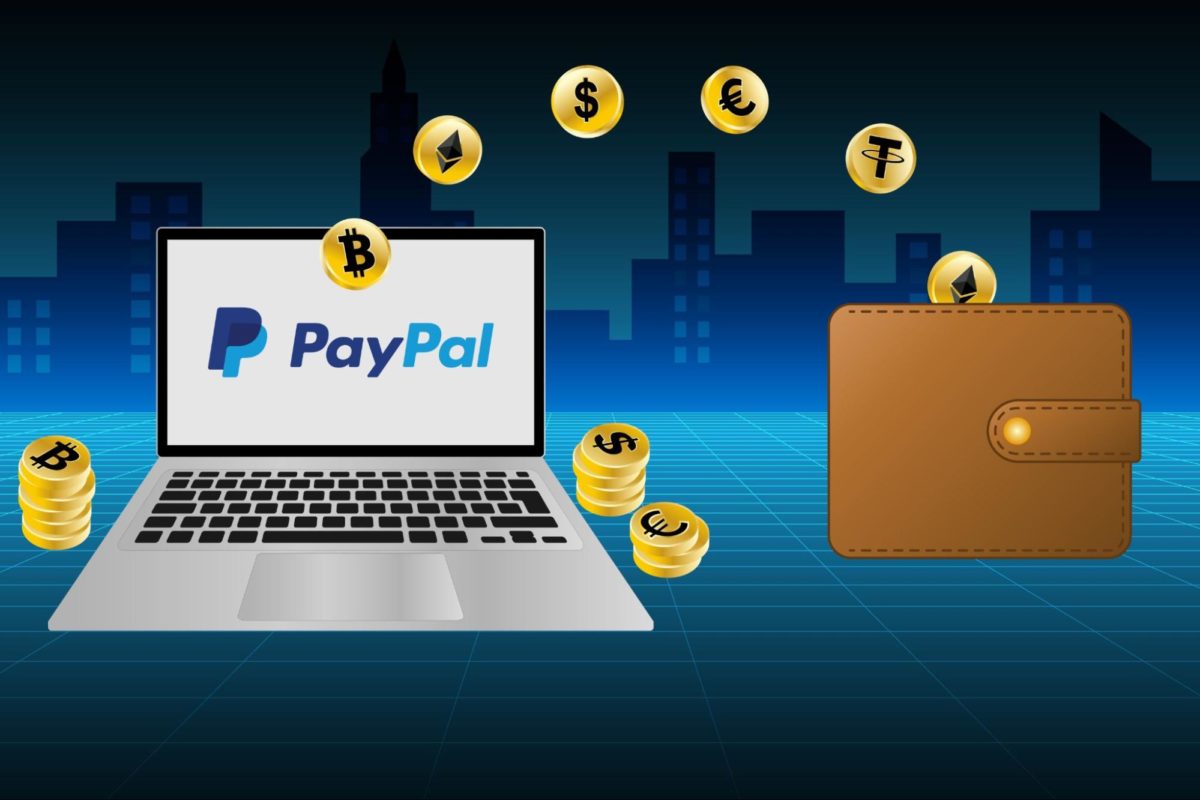
PayPal is one of the most popular online payment gateways, trusted by 429 million users worldwide. PayPal’s available in 200 countries and supports 25 currencies.

Adding a PayPal-powered payment page to your WordPress website is simple. WordPress plugins, like Payment Page, make it possible.

Let’s go over how PayPal works and how to use Payment Page to integrate PayPal into your WordPress website:

How PayPal Works

Payment Page WordPress Plugin for PayPal

How To Integrate PayPal Into Your Website

Final Thoughts: Using Payment Page Plugin for WordPress PayPal Integration

How PayPal Works

PayPal acts as an intermediary between online merchants and customers. It enables customers to pay using methods like credit cards, debit cards, or their PayPal balance.

So, when a customer completes a payment, PayPal works with the customer’s bank to collect the money. Then, it transfers the money to the merchant’s account.

PayPal Payment Gateway Fees

You don’t need to pay recurring subscription fees to accept payments through PayPal. Instead, PayPal charges a fee whenever a merchant receives payment:

PayPal Checkout: 3.49% + a fixed fee based on currency received

Standard debit and credit payments: 2.99% + fixed fee

Pay with Venmo: 3.49% + fixed fee

Alternate payment methods (like Apple Pay or Google Pay): 2.59% + fixed fee


Note: PayPal charges an additional 1.5% fee on international transactions.

Using PayPal on WordPress To Accept Payments

You have multiple options to integrate PayPal into your WordPress website.

PayPal Payments Standard

PayPal payments standard lets you create simple payment buttons for your WordPress website. PayPal generates an HTML code for your payment button, and then you just need to embed the code on your website.

PayPal payment buttons are simple to create, but they’re only useful if your requirements are simple. They don’t support advanced customization options or multiple payment plans.

Payment Page WordPress Plugin for PayPal

If you want to go beyond the basic PayPal payment button, try Payment Page WordPress plugin. It empowers you to create beautiful payment forms powered by PayPal right on your website.

Payment Page offers advanced features for:

  • Creating fully-customized payment pages
  • Adding complex pricing plans — subscriptions and one-time payments
  • Accepting payments in 135+ currencies

Let’s see what Payment Page can do for your online business.

Multiple Payment Plans

Payment Page supports multiple payment plans suitable for any online business. For example:

  • Creators can set up subscription plans
  • Consultants can create multiple consultation forms
  • NGOs can accept custom amounts and recurring payments

Multiple Payment Methods

Payment Page gives your customers the flexibility to pay through different payment methods supported by PayPal:

  • Payment through their PayPal account
  • Payment using credit or debit card without a PayPal account

More payment methods are coming soon:

What’s Needed To Accept PayPal Payments Through Payment Page

To start, you need a PayPal business account to accept payments as a merchant. To integrate PayPal into your website, log into your PayPal developer account and create a new PayPal application to accept payments.

Once you create an application, you’ll get a Client ID and Secret code to enable PayPal payments on your WordPress website. 

Note: Payment Page offers a live and test mode for setting up PayPal. The test mode enables you to transfer money from your personal PayPal account to the business account for test purposes. The live mode lets you accept payments directly from your customers.

You can also use Webhooks.

How To Integrate PayPal Into Your Website

  1. Download Payment Page WordPress plugin
  2. Copy your PayPal application’s Client ID and Secret
  3. Connect your PayPal account using the Client ID and Secret
  4. Choose a payment page template, customize, and publish

Final Thoughts: Using Payment Page Plugin for WordPress PayPal Integration

Integrating PayPal into your WordPress website empowers you to offer easy payment options for your customers, improving their experience and boosting conversations. However, you might require more features than a standard PayPal payment button can offer.

Payment Page WordPress plugin solves that issue by offering versatile payment forms powered by PayPal. Ready to add a beautiful payment page to your website? Try Payment Page today.

Categories
eCommerce

Tips for Protecting Your Business From Remote Payments Fraud

As business owners step away from in-store purchases and focus primarily on online options during the pandemic, it’s important to review the implications of remote payment fraud. Especially for businesses that don’t primarily function as an eCommerce enterprise, remote payment options can appear intimidating. As online alternatives continue to keep businesses afloat, protecting your operations from fraud is a must. Here’s how you can get started. 

1. Arm Your Payment Page With the Address Verification System (AVS)

A hosted payment page removes the security provided by a physical credit card, ID, and being able to interface with a customer in person. Thus, some remote credit card terminals will charge higher rates on transactions that require additional information regarding a customer’s billing address, zip code, and contact information. 

These additional requests manifest as AVS prompts and can result in fraud if they are dismissed. Responding to AVS prompts can take time away from your hands but can help reduce the risks of fraud and keep your rates low. 

2. Sell Only to Known Customers

New prospects are what make a business flourish but if you aren’t well-versed in accepting remote payments, can also lead to potential fraud. This is particularly true when it comes to accepting subscriptions, as customers sometimes receive products before their credit card is charged.

Incorporating an anti-fraud system takes time, so prioritizing known and trustworthy customers, meanwhile, can protect your business from losing money. Nowadays, lifelong customers tend to patronize their favorite businesses on a regular basis, which you can easily take advantage of while you consider your options. 

3. Trust Your Gut

While it may seem counterintuitive, trusting your instincts when it comes to evaluating a sale that seems too good to be true can keep fraudulent transactions at bay. Perhaps you’ve come across a customer whose billing and shipping addresses don’t match or whose credit card information simply won’t go through. If so, you may be better off foregoing the sale or even choosing to temporarily suspend international or out-of-state orders. 

4. Create an Electronic Defense System for Sensitive Data

Not only does a robust security system protect your customers’ data—but it also protects your business. By adhering to PCI security standards and assessing any third-party provider’s cybersecurity risk, you can build an impenetrable payment system that allows clients to trust you and you to trust your clients. When outsourcing a payment processor, review their disaster recovery strategy and consider whether their protocols align with yours. 

Conclusion

No business owner wants to lose a sale but while some of these practices may seem unnecessary or over-the-top, they’re also useful in preventing scams and chargebacks. Over time, you may choose to relax some of these measures but should prioritize AVS for over-the-phone transactions. 

With Payments Page, you can incorporate branded elements into your payment portals such as unique payment buttons and a stunning design that reflects your business. Better yet, you can ensure that your transactions are fully protected and that your payment gateway displays comprehensive business information to clients. Ready to accept payments? Sign up today with a 30% discount!

Categories
Stripe Tutorials

How to Accept Multibanco Payments through Stripe: A Guide

In a digitally-oriented and fast-paced business landscape, every day feels like a race against your busy schedule. Daily tasks like withdrawing money, depositing, or paying the bills can feel like a major hassle, but fortunately, advances in the banking industry simplify payment methods for people. 

That’s why online businesses are integrating  payment gateway methods in their system to make transactions more convenient for customers, allowing eCommerce businesses to grow rapidly on a worldwide scale. Payment processors dominate the international market, but what about integrating payment methods like Multibanco to your store? 

What is Multibanco?

Run by Sociedade Interbancária de Serviços S.A. (SIBS), Multibanco is one of the most innovative interbank networks in Portugal. It’s a revolutionary system that takes convenience to the next level for customers as it links ATMs of 27 banks in Portugal, making it easy to pay bills and other transactions using the ATM or online banking. 

When linking it to your e-commerce store, Stripe will receive the funds sent by the customer using Multibanco, which can take a few days to complete. When sending payment through online banking, the following steps take place: 

Online Banking From Multibanco to Stripe 

Step #1: Create a Source Object

If you’re looking to cater to customers in Portugal, using Sources is key to create payments that are supported by your store. Using either Stripe.js or source creation endpoint, these JavaScript libraries are platforms where you can build payment flows for your store. 

Step #2: Have the Customer Send the Funds 

Moving forward, clients or customers from Portugal can send their funds straight from their bank using either a reference or entity numbers you provided. They can initiate the transfer using either their computer, phone, or local ATM, which the merchants will display in the checkout flow and order confirmation email once the customer is pushing through with the purchase. 

As for the client, the source you created will only be set to pending, but it will change into chargeable once the customer transfers the funds. Be sure to charge the source to complete the process, or else the status will immediately cancel by default after six hours. 

Step #3: Charge the Source 

As mentioned above, the source’s status will change to “chargeable” once the customer pushes through with the transaction. It can take anywhere between minutes to days for the customer to send the funds, which is why it’s crucial to integrate webhooks to your system too as this can notify you about the changes to your source’s status. 

Once you do confirm the status change, you can set it to “charge” to complete the process. 

The Bottom Line: Payment Page Simplifies the Process of Accepting Multiple Payment Methods Across the Globe 

Bank payments and digital wallets are at an all-time high, but now online shopping is easier than ever as payment gateways like Stripe bridge the gap between businesses and foreign markets. Unfortunately, integrating different payment methods to your store is not as straightforward as it seems.
The process can be complex for you and your customers, especially when it comes to creating a seamless and easy-to-navigate payment checkout process. That’s where Payment Page comes into play, coming to you either as a WordPress plugin or a Website-as-a-Service (Waas). With our help, we can make the payment process and page setup easy in just a few clicks.